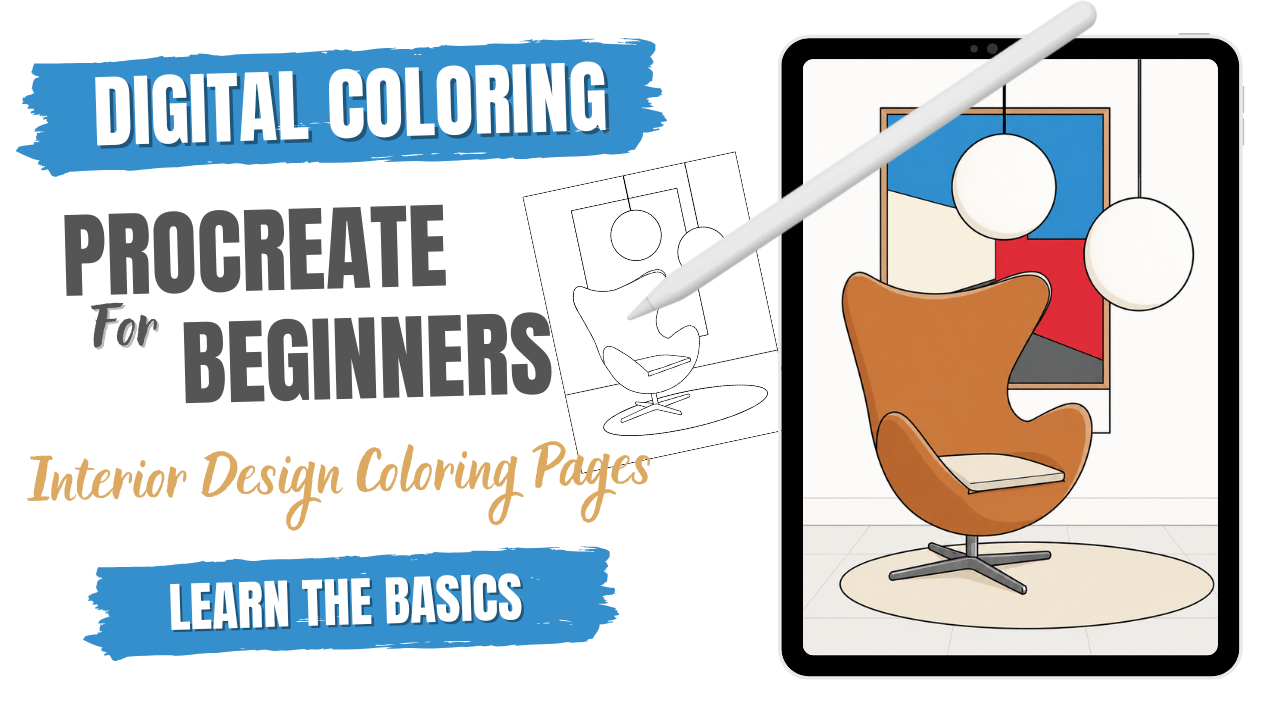
Learn about Procreate for Beginners. Procreate is one of the best digital art apps for iPad, loved by beginners and professionals alike. Its clean interface is easy to learn, while offering powerful tools like a customizable brush library, flexible layers, advanced color controls, and time-lapse recording. I offer free Whether sketching, painting, or designing, getting started with Procreate makes digital art feel natural and fluid. Visit my YouTube channel for a free Procreate tutorial for beginners.
ARTICLE OUTLINE
- Getting Started in Procreate (Download, Canvas, Interface, Gestures)
- Procreate Creative Tools Guide
- Procreate Beginners Guide: Brushes, Layers, and Colors
- Tips for Beginners
- Basic Workflow (Example)
- Final Thoughts
GETTING STARTED IN PROCREATE
iPad and Apple Pencil
Getting started with Procreate: Procreate is an iPad-only app that works best with the Apple Pencil for pressure sensitivity and control. While you can use your finger, a stylus unlocks the app’s full potential.
Download Procreate
Purchase Procreate from the App Store for a one-time cost (about $12.99 USD). Search “Procreate” by Savage Interactive, tap purchase, and confirm with Apple ID, Face ID, or Touch ID. The app installs directly on your iPad—no subscriptions required.
Interface Overview
Procreate for Beginners: when you open Procreate, you land in the Gallery, where all artworks are stored as thumbnails. From here, you can:
- Tap + to create a new canvas
- Organize projects into stacks
- Share, duplicate, or delete files
Creating a Canvas
Tap + to create a new canvas. Choose from presets like Screen Size or set custom dimensions in pixels, inches, or cm. Adjust DPI (300 for print, 72 for digital), select a color profile (RGB for digital, CMYK for print), and enable time-lapse recording if desired.
Creative Tools Overview
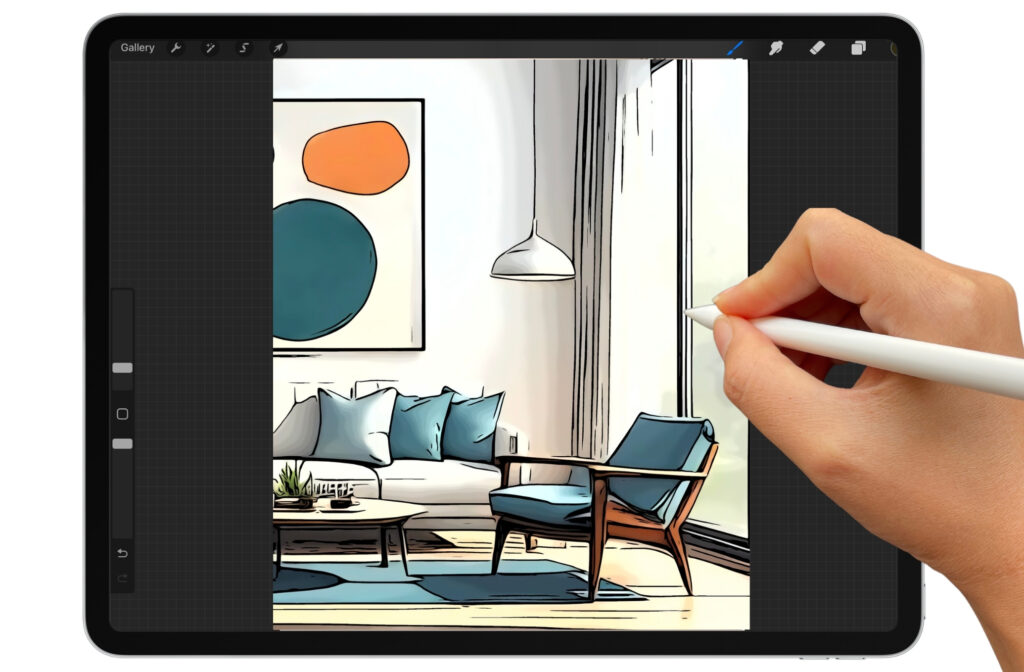
The top toolbar holds menus for Actions, Adjustments, Selection, and Transform. The right side holds Brush, Smudge, Eraser, Layers, and Colors. The left sidebar includes sliders for brush size, opacity, and quick undo/redo.
PROCREATE CREATIVE TOOLS GUIDE
- Gallery (Top Left): Organize, group, and create projects.
- Actions (Wrench): Add images/text, crop/resize, set guides, share/export in multiple formats (JPG, PNG, PDF, PSD, TIFF), record time-lapses, and adjust app preferences.
- Adjustments (Magic Wand): Fine-tune color, apply blur, sharpen, add noise, or warp with Liquify.
- Selection Tool (Ribbon): Isolate and edit specific parts of your artwork.
- Transform Tool (Arrow): Move, resize, rotate, distort, or warp elements.
- Brush Tool: Access a huge brush library with customization options and import capabilities.
- Smudge Tool: Blend and mix colors naturally.
- Eraser Tool: Erase using any brush for soft or textured effects.
- Layers Panel: Stack, reorder, and blend layers. Use Alpha Lock, masks, or reference layers for non-destructive editing.
- Color Panel: Choose colors via disc, sliders, or palettes. Save custom palettes, sample with the eyedropper, or explore Harmony for complementary colors.
Left Sidebar (Quick Controls)
- Brush Size: Adjust stroke thickness.
- Opacity: Control transparency.
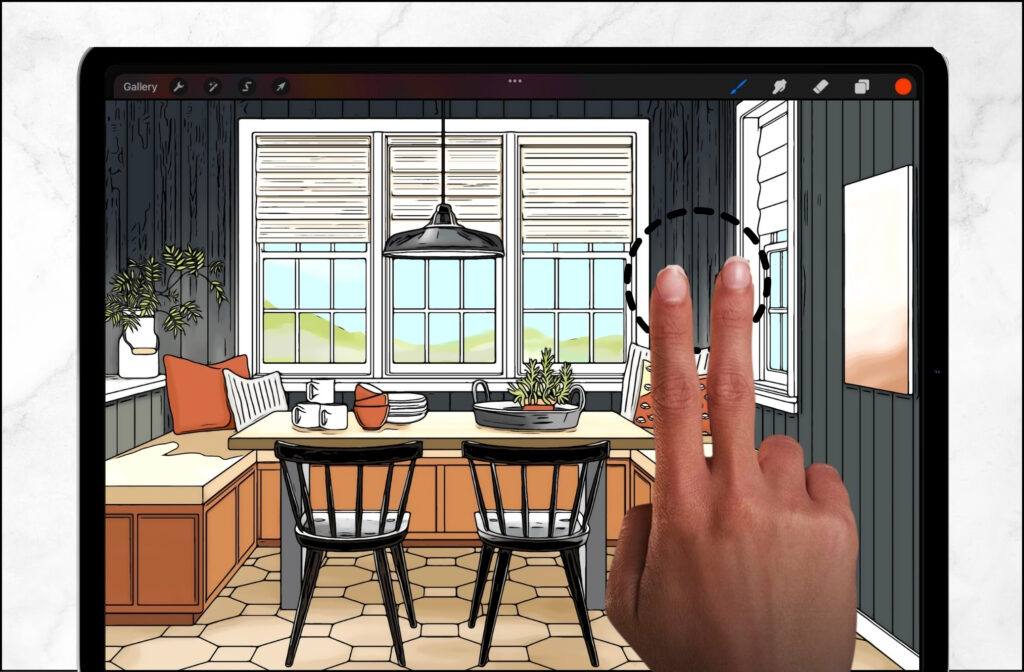
- Undo/Redo: Quick two-finger tap to undo, three-finger tap to redo.
Essential Gestures
- Two-Finger Tap: Undo
- Three-Finger Tap: Redo
- Pinch: Zoom
- Two-Finger Rotate: Rotate canvas
- Quick Pinch: Fit canvas to screen
- Four-Finger Tap: Hide/show interface
- Hold Line: Straighten into a perfect line/shape
PROCREATE BEGINNERS GUIDE: BRUSHES, LAYERS & COLORS
Brushes
- Brush Library: Hundreds of brushes organized by style (sketching, painting, textures).
- Brush Settings: Tap a brush to adjust size, opacity, shape, and texture.
- Custom Brushes: Import or design your own using Brush Studio.
Layers
- Layer Panel-Offers a clean interface with a variety of features
- Non-Destructive Editing: Keep elements separate.
- Add/Delete/Rearrange Layers: Tap + or drag layers in order.
- Layer Options: Adjust opacity, use blending modes, clipping masks, reference layers, and Alpha Lock.
Colors
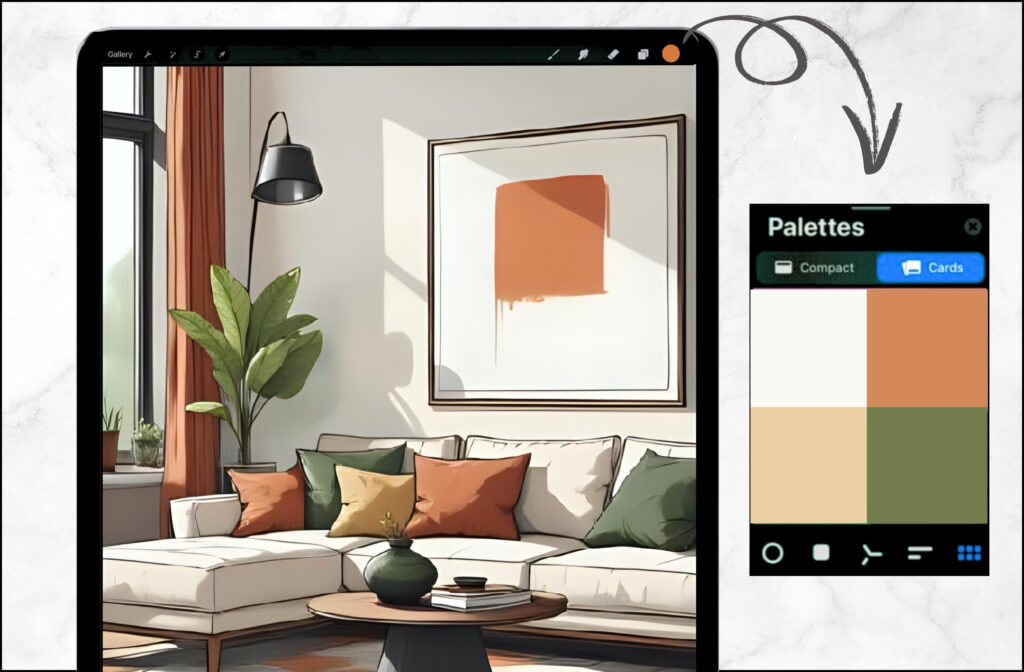
- Color Panel: The color panel is where you choose, modify, and save colors.
- Color: Access via the top-right circle.
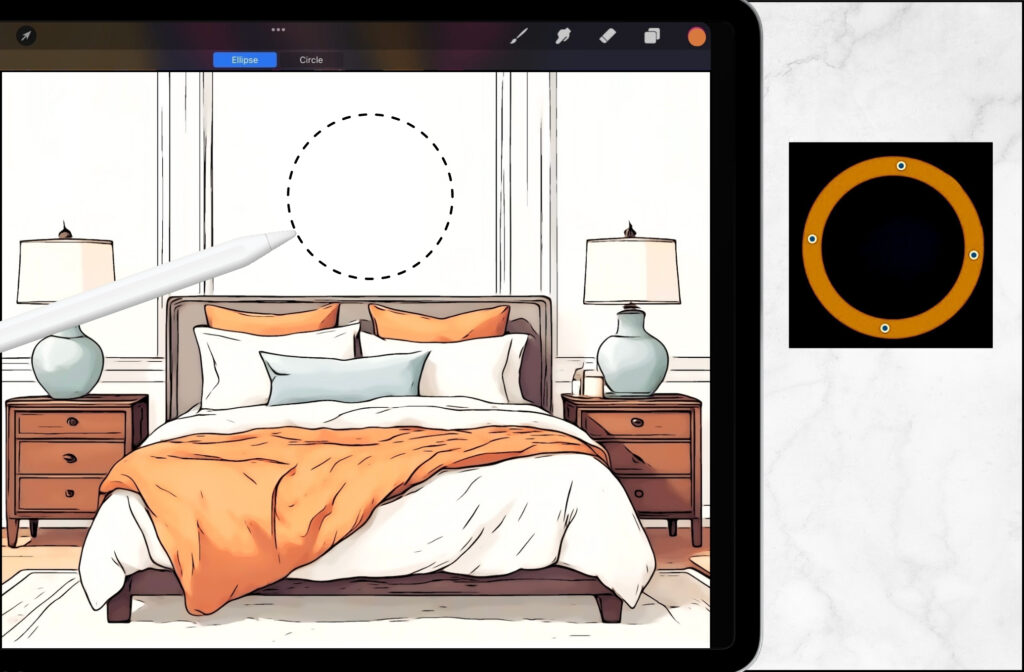
- Pickers: Choose colors with wheel, disc, classic, or value sliders.
- Eyedropper: Long-press canvas to sample colors.
- Palettes: Save and organize custom color sets.
Final Thoughts
Whether you’re just getting started with Procreate on your digital art journey or exploring new creative tools, Procreate for beginners offers a powerful and intuitive platform to bring your ideas to life. With its user-friendly interface, customizable brushes, and endless possibilities for illustration and design, Procreate is the perfect app for artists of all levels. As you continue to learn how to use Procreate, remember to experiment, explore tutorials, and embrace your unique style. By mastering the basics and staying inspired, you’ll unlock the full potential of this incredible digital drawing app—and your creativity will flourish. Keep practicing, keep creating, and let Procreate be your canvas for artistic growth.